
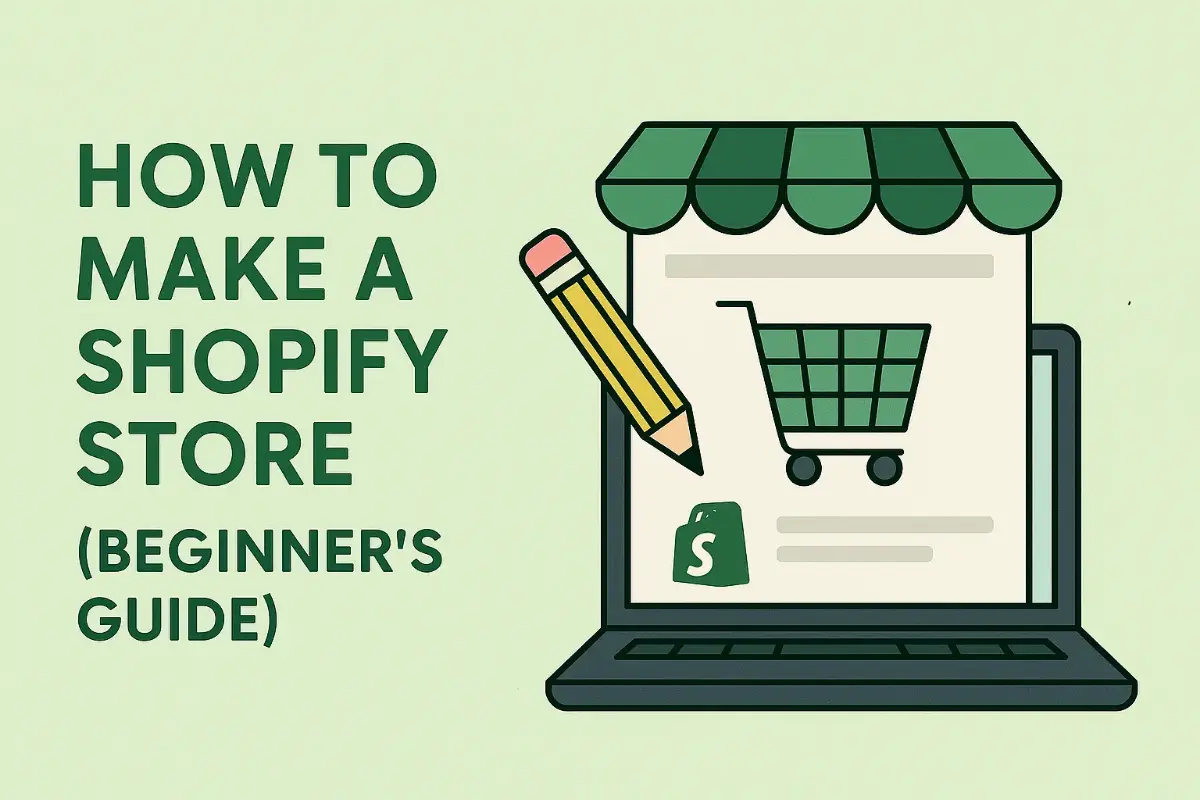
How to Make a Shopify Store (Beginner’s Guide)
When I first started building a Shopify store, I was nervous about the tech side. The truth? It’s easier than I expected. From choosing a niche to customizing a theme and launching, here’s the step-by-step guide I wish I had as a beginner.
When I first started thinking about selling online, Shopify was the name that came up again and again. Everyone seemed to recommend it as the easiest way to build an online store. But honestly? I had no clue where to begin.
I thought you needed to be a coder, or at least some kind of design wizard, to make a professional-looking website. The idea of “building a store” felt way out of my comfort zone. What surprised me, though, was just how beginner-friendly Shopify really is. You don’t need to know how to code, and you don’t even need a ton of money to get started.
The trick is having a step-by-step process. Once I broke it down, from choosing a niche to setting up payments and launching, I realized it was much less intimidating than it looked.
In this guide, I’ll walk you through exactly how to make a Shopify store from scratch. Whether you’re planning to sell your own products, dropship items, or just test a side hustle idea, this article will give you a clear roadmap.
Why Choose Shopify?
Before I signed up for Shopify, I spent weeks comparing platforms. WordPress with WooCommerce, Wix, Squarespace - they all had pros and cons. What stood out about Shopify was how much heavy lifting it does for you.
Here’s why I think it’s the best choice for beginners:
- It’s user-friendly. You don’t need to install complicated plugins or set up your own hosting. Shopify gives you a dashboard where you can add products, customize your theme, and track orders in one place.
- It handles the technical stuff. Hosting, security, and payment gateways are built in. I didn’t have to worry about SSL certificates or site speed.
- It scales with you. You can start on a basic plan and upgrade as your business grows, without switching platforms.
- Apps and integrations. Need reviews, email marketing, or upsells? There’s an app for almost everything.
- Support and community. 24/7 support plus an active community forum. I found answers to my rookie questions faster than I expected.
What I liked most as a beginner was that Shopify let me focus on the fun part: choosing products and branding, instead of stressing about the tech side.
Planning Your Store Before You Start
Here’s the mistake I made with my very first Shopify store: I jumped straight into design without any plan. The result? A messy store with no clear direction. The second time around, I took a step back and planned things first, and everything went so much smoother.
Here’s what I recommend thinking about before you even sign up:
Define Your Niche
Don’t try to sell “everything.” Pick a specific niche like fitness gear, home office products, or sustainable fashion. The more focused you are, the easier it is to market.
Know Your Customer
Who are you selling to? Busy parents? College students? Small business owners? Knowing your customer helps you choose products and design your store in a way that resonates.
Products
Decide what type of products you’ll sell:
- Physical products (like clothing, homeware, or gadgets).
- Digital products (ebooks, courses, templates).
- Dropshipping (partner with suppliers who ship for you).
Branding Basics
Think about a store name, colors, and logo. They don’t need to be perfect right away, but having a vision helps everything feel consistent.
Essential Pages
Plan the must-have pages: About, Contact, Shipping, Returns, FAQ. These build trust.
When I skipped this planning stage, I ended up redoing my store multiple times. When I did it properly, everything, from product descriptions to marketing, flowed more naturally.
Signing Up and Setting the Basics
Once you’ve got your plan sorted, it’s time to actually jump into Shopify. This part was a lot less painful than I expected, Shopify walks you through the basics step by step.
Here’s what I did:
- Create a Shopify Account
- Shopify offers a free trial, so you can test everything before committing.
- During signup, it asks a few quick questions (like what you plan to sell), but you can skip these if you’re still figuring things out.
- Pick a Plan
- For most beginners, the Basic plan is the best choice.
- The cheaper Starter plan ($5/month) is really just for social selling, it doesn’t give you a full online store.
- Choose a Store Name
- Don’t overthink it. You can change your store name later, but you’ll want something simple and brandable.
- Connect a Domain
- Shopify gives you a free .myshopify.com domain, but if you want your store to look professional, buy a custom one.
- Example: instead of alexsstore.myshopify.com, go for alexsstore.com.
- Set Basic Preferences
- Go into Settings → General to set your currency, timezone, and tax region.
- This makes sure your prices and checkout process work smoothly.
When I first did this, I was surprised by how quick it was. Within an hour, I had a functional (if plain) Shopify site ready to customize.
Choosing and Customizing a Theme
Here’s the fun part — making your store look like your brand. When I first opened Shopify’s theme store, I was overwhelmed by all the options. The good news? You don’t need to spend hundreds on a theme right away.
Free vs Paid Themes
- Free themes: Shopify’s “Dawn” is simple, clean, and works well for most beginners.
- Paid themes: Premium options (like Impulse, Prestige, or Motion) cost $200–$350 but offer more design flexibility.
I started with a free theme to learn the ropes and only upgraded later.
Customizing Your Theme
- Colors and Fonts: Match your brand personality. Keep it clean and consistent.
- Logo and Favicon: Upload even a simple logo to look more professional.
- Homepage Layout: Feature your best products or collections front and center.
- Navigation Menu: Keep it simple — no one wants to dig through confusing menus.
Focus on Images
This was my biggest “aha” moment. Customers don’t care about fancy fonts — they care about product photos. High-quality images make your store look instantly more trustworthy.
Mobile Optimization
Most shoppers browse on their phones. Always preview your store on mobile before you launch. The first time I launched, I forgot to do this, and half my buttons were hard to tap.
When I finally nailed the design basics, my store felt like a “real” shop. It was still simple, but it gave me the confidence to start adding products.
Adding Products and Collections
This is where your store starts to feel alive. When I first added products, it was a bit of trial and error, but after a few uploads I got the hang of it.
Adding a Product
In Shopify’s dashboard, go to Products → Add Product. You’ll need to fill in:
- Title: Keep it clear (e.g., “Reusable Glass Water Bottle – 500ml”).
- Description: Don’t just list features — explain benefits.
- Instead of: “Stainless steel lid, BPA-free.”
- Try: “Keeps your water fresh all day and fits perfectly in your gym bag.”
- Price: Set your selling price and compare-at price (if you’re showing discounts).
- Images: Upload high-quality photos from multiple angles.
- Inventory: Track stock or connect to dropshipping suppliers.
- Variants: Sizes, colors, or styles.
Organizing with Collections
Collections are like categories. Examples:
- “Best Sellers”
- “New Arrivals”
- “Eco-Friendly Products”
- “Under $50”
Collections make it easier for customers to browse — especially if you plan to sell more than a handful of items.
Product Photos Matter Most
I learned quickly that good photos are half the battle. When I swapped out generic supplier images for my own (even simple ones on a white background), my store felt more professional right away.
Setting Up Payments, Shipping, and Taxes
Before you launch, you need to make sure customers can actually buy from you — and that they know what to expect after checkout.
Payments
- Shopify Payments lets you accept credit cards, Apple Pay, Google Pay.
- PayPal is also an easy add-on and builds trust with buyers.
- Stripe and other gateways are available depending on your region.
Shipping
- Decide whether to offer free shipping (popular with customers) or charge flat rates.
- If you’re dropshipping, be transparent about delivery times.
- You can also set up free shipping thresholds (e.g., free shipping over $50) to increase order value.
Taxes
- Shopify auto-calculates most taxes based on your region.
- Still, double-check local rules — especially if you sell internationally.
Policies
This was one of my early mistakes — I launched without clear policies and ended up answering the same questions repeatedly. Save yourself the headache by adding:
- Shipping policy.
- Return/refund policy.
- Privacy policy.
Clear policies build trust and reduce the number of “Where’s my order?” emails.
When I finished setting up payments and shipping, I finally felt like my store was “real.” Up until then, it was just a pretty site. But once people could check out, it became an actual business.
Essential Apps and Integrations
Shopify works straight out of the box, but apps are where you can really customize your store. The first time I opened the Shopify App Store, though, I got carried away. I installed way too many apps, and my site slowed down. Lesson learned: start small and only add what you truly need.
Here are the essentials I recommend for beginners:
- Product Reviews
- Loox, Judge.me, or Ali Reviews.
- Reviews build trust, especially if you’re just starting out.
- Email Marketing
- Klaviyo, Omnisend, or Shopify Email.
- Helps you capture emails, send newsletters, and set up abandoned cart reminders.
- Upsells and Bundles
- Apps like Frequently Bought Together or Bold Upsell.
- Encourage customers to buy more than one product.
- Customer Support
- Shopify Inbox or Tidio (live chat).
- Makes your store feel more approachable.
- Automation Tools (Optional)
- Oberlo/DSers for dropshipping.
- Helps with automatic order forwarding to suppliers.
Launch Checklist
Before hitting that “launch” button, it’s worth double-checking that everything works. I made the mistake once of announcing a launch… only to realize my checkout wasn’t working properly.
Here’s the checklist I use now:
- Test the Checkout
- Place a test order to make sure payments go through.
- Check Mobile View
- Over 70% of customers shop on their phones. Your site has to look good on mobile.
- SEO Basics
- Write clear titles and meta descriptions for your homepage and products.
- Add alt text to images.
- Branding Touches
- Upload your favicon (that tiny icon in the browser tab).
- Connect social media accounts.
- Policies and Contact Info
- Make sure Shipping, Returns, and Contact pages are visible in the footer.
- Speed Test
- Remove any heavy apps or oversized images slowing down your site.
The first time I went through this checklist, I caught three things that would’ve annoyed customers — including a broken mobile menu. It’s better to fix issues now than after your first visitors arrive.
Once your checklist is complete, you’re ready for the most exciting (and slightly terrifying) part: launching your store to the world.
Marketing Your New Store
Here’s the truth I learned the hard way: building the store is only half the job. The real challenge begins when you try to get people to visit it. My first store had a nice design and products I thought were great… but no sales for weeks. Why? Because no one knew it existed.
Organic Marketing
- TikTok and Instagram Reels: Short videos showcasing your products can blow up fast. Even simple unboxing clips can drive traffic.
- Pinterest: Great for niches like fashion, beauty, and home decor. Pins can keep sending visitors months later.
- Blogging/SEO: Write posts around your niche (e.g., “10 Best Eco-Friendly Kitchen Gadgets”) and link to your products.
For a more in-depth look, take a look at my Guide to Marketing Your Online Store.
Paid Ads
- Facebook/Instagram Ads: Good for targeting specific audiences.
- TikTok Ads: Cheap and effective for trending products.
- Google Shopping Ads: Works well for products with high search demand.
Paid ads can be a money pit if you don’t test carefully. My advice? Start small ($5–$10/day) and scale only if you see consistent sales.
Email Marketing
- Add an email capture form on day one (“Get 10% off your first order”).
- Send abandoned cart emails — they can recover lost sales automatically.
- Use newsletters to announce new arrivals or seasonal deals.
What shocked me was how much of marketing is just consistency. One TikTok or one ad won’t change your business. But posting regularly and testing different ideas slowly builds traction.
Final Thoughts
So, how do you make a Shopify store as a beginner?
It comes down to a few clear steps:
- Plan your niche, products, and branding.
- Sign up for Shopify and set the basics.
- Choose a theme and customize it.
- Add products with great photos and descriptions.
- Set up payments, shipping, and policies.
- Add a few key apps to boost trust and sales.
- Double-check everything with a launch checklist.
- Market your store consistently with organic and paid strategies.
When I built my first Shopify store, I was nervous. I didn’t think I had the skills to make something professional. But by following these steps, I ended up with a site that looked legit and was ready to take orders.
My biggest lesson? Don’t wait for perfection. My first store wasn’t flawless — but it taught me more in one month than endless research ever could. If you’ve been thinking about starting, the best way to learn is to just dive in and launch.
Your Shopify store doesn’t need to be perfect on day one. It just needs to be live. Everything else can be improved as you go.
For more information, take a look at my Beginners Guide to Starting an Online Business.